|
|
|
|
On Wednesday, August 2nd the harsh reality of losing all but my Jeep and 30 pounds of personal possessions I stuffed into my backpack before fleeing from the flames, started to sink in. As I drove down the mountain back to my Super 8 hotel room, for I was now homeless too, I wondered what I could do to regain my life. No solutions came to mind. Putting my troubles aside I stopped at each of my remaining neighbor's homes to see if I could do anything for them.
I pulled into Everett Johnston's driveway. A man and his family were surveying the damage that surrounded us. The house was scorched but intact. The trees, garage, part of the deck and the guest house were piles of ash and cinders. I stepped out of my car and introduced myself to Rich, his wife Kay and their young son, Buck. Rich extended his tanned, calloused and powerful hand. As we exchanged greetings I thought that Rich could have been a captain of a whaling ship in a previous century. I wondered what he did for a living now. I asked and Rich told me that he was a builder of custom homes. He was inspecting Everett's home, which he built just a year ago, for damage and repairs. I asked Rich if he could build a home for me. Rich said that we could talk about it but that he was already booked well into next spring.
A few days later we talked and many a prayer was answered. Rich was able to squeeze my house into his packed schedule. He started work immediately and allowed me to be actively involved with the process. Over the next several months I will tell the story of how my new home rises from the ashes under the guidance of Master Builder Rich Spallone and with the assistance of my friends, family, neighbors and former customers.
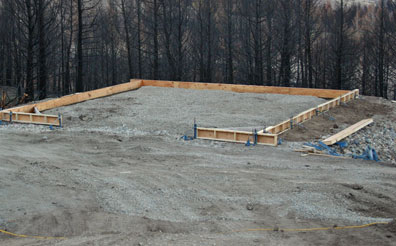
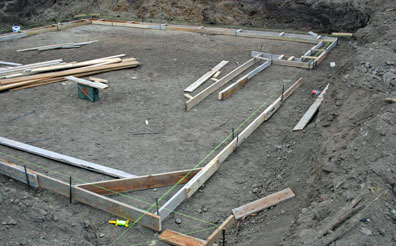
The old cistern and a new, roughed out, upper driveway |
My Jeep appears lost after the incinerated garage was hauled away |
The fire destroyed everything; Branford Bike, the warehouse, almost every tree, my home and 99% of my worldly possessions. Rebuilding was impossible for there was virtually nothing left to work with. I bid farewell to my home, my books, photos and business on August 24th when we buried the ashes. Today, we started to build a new house, a new home and a new life.
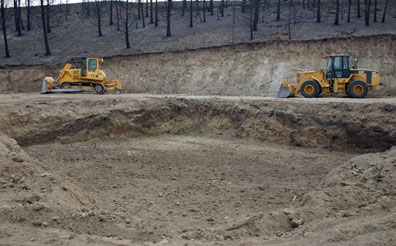
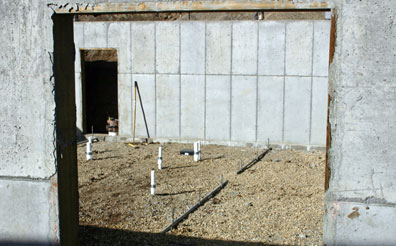
Mike Adkins and his crew did a superb job of excavating the site. They carved a perfectly flat and spacious yard from the side of the mountain. Next they graded a smooth and gently curving driveway that circles the house plot. Finally they meticulously dug a 9 foot basement into the scorched earth and down to solid, undisturbed soil. If you look closely at the photo to your right you can see a dark band in the soil. That is the ash, debris and scorched soil layer. Fresh fill is on top of it. Below is soil that was deposited by glaciers and last saw sunlight about 10,000 years ago.
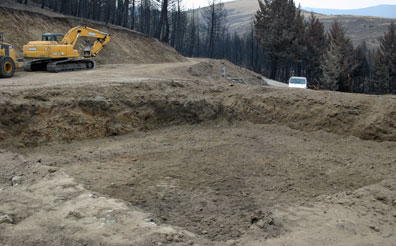
The new upper driveway, old lower driveway and excavated basement |
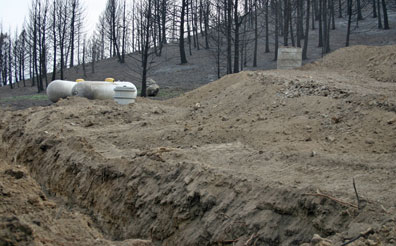
A new septic tank and drain field was installed by Mike Adkins |
A new and larger cistern sits on the freshly created garage gravel bed |
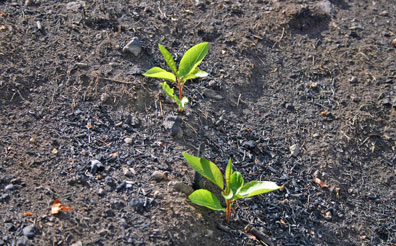
Aspen trees poke through the charred and blackened forest floor |
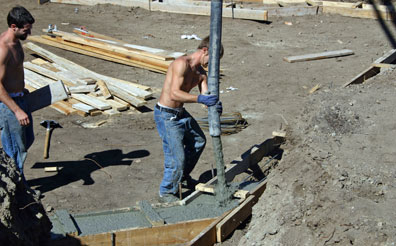
Abuilding, like a life, requires firm footings to weather storms and disasters. The soil in our basement, which was deposited during the retreat of the last ice age, was compacted, leveled and smoothed. Two foot wide wooden forms were built along the lines where outside walls would eventually rise from the fresh earth. Steel rods called rebar, were carefully strung along the inside of the wooden frames and raised above the ground. The rebar, whose job was to reinforce the concrete, was snugly wired together and gently bent around corners.

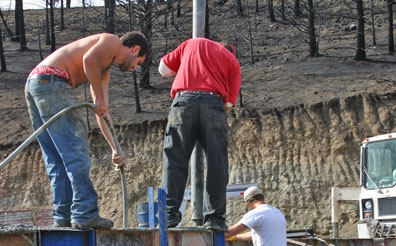
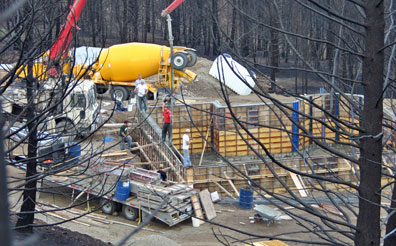
Trevor, from the top of the pumper truck, skillfully guided the heavy concrete pumper truck boom along the wooden forms while Caleb, holding the hose, carefully filled the forms. Adrian and his helper smoothed the footing top while removing extra concrete. The pour went quickly and there was little margin for error. Everyone knew their job and worked together as a team. Just over an hour after the first concrete was poured, the footings were shaped, smoothed and quickly solidifying.
Caleb guides the concrete hose |
Adrian smoothes the footing's top |
A concrete truck and pumper |
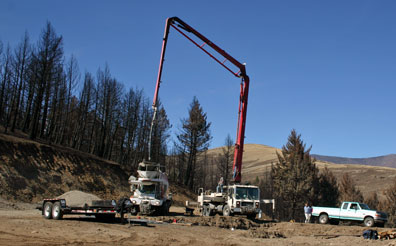
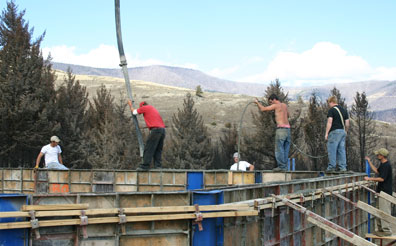
A beautiful and productive autumn day at the work site |
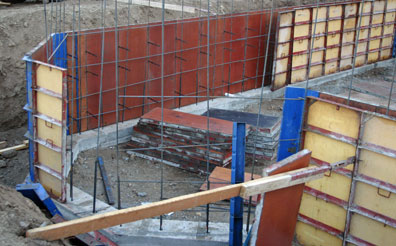
Slowly, a nine foot wall of forms was built on top of the concrete footings. Rebar was poked into the footings while they were still soft. Then a grid of rebar was woven and tightly wired together with the footing rebar. Finally the inside forms were raised and joined to the outside forms with steel plates. Everything was straightened, made square, checked and rechecked. The outside forms were reinforced and braced. We were ready for the pouring of the foundation walls.
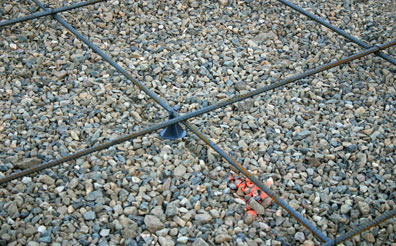
A rebar grid is laid above the gravel base |

The sun sets and the moon rises as I call it a day and head back to the log cabin |
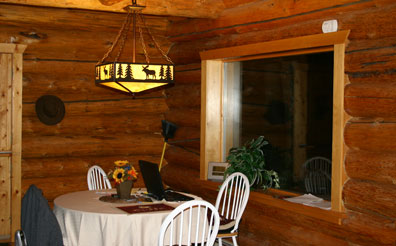
Taking a break from creating a web page at my kitchen table in the log cabin |
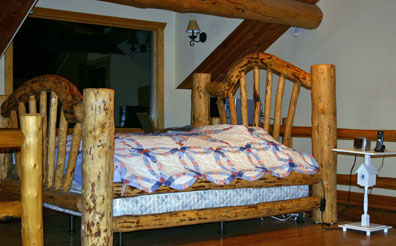
I had a log bed just like this one in my old loft. |
TThe big day arrived and the weather was beautiful; warm, dry and sunny. Pouring 9 foot foundation walls is a critical job and one error can destroy the entire effort. The crew checked and rechecked the forms for straightness, angles and measurements. When satisfied they checked the inside and outside walls to make sure they were properly reinforced and braced for the tons of wet concrete that would soon fill them.
A full crew showed up today... |
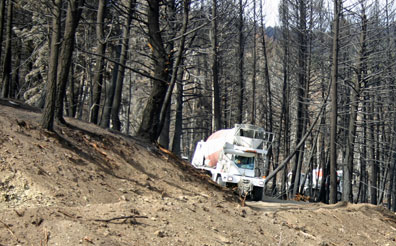
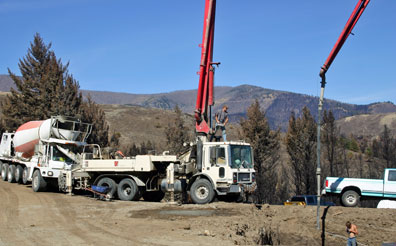
Concrete trucks line up in my driveway and on the narrow mountain road |
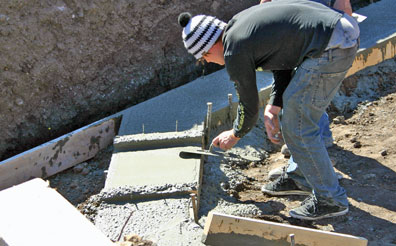
The first concrete truck arrived and the team went into action. Eric guided the heavy concrete spewing hose while Trevor skillfully guided the boom and regulated the flow. Mark stood in front to see that the concrete flowed properly around the rebar and filled the form. A third person trailed Eric. He inserted a long vibrating tube into the wet concrete. The vibrations forced air bubbles to the top and insured that no voids would form in the walls. Finally, Adrian smoothed over the tops of the walls as the concrete settled into place. Later he would place threaded bolts into the wall on which a mud sill would eventually be seated.
Four concrete trucks later the foundation was poured and smoothed.
The gravel sub-floor in the basement |
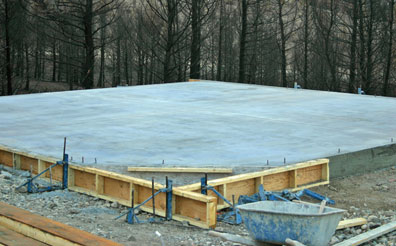
The completed concrete slab for the garage |

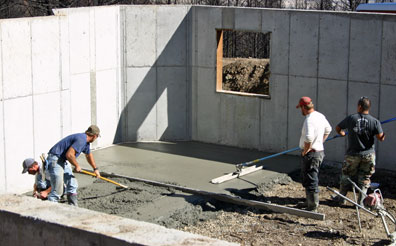
Keith helped spread the gravel for the basement sub-floor a few days ago. Then the plumbers from DW Burns installed drains and sewer pipes. Today, Trevor, Mark, Eric and Hector would pour and construct the basement floor. The garage floor was designed to withstand sub-zero temperatures and thousands of pounds of weight. The basement floor is 4 feet below the frost line and would not experience heavy loads like automobiles. Thus it did not require a grid of rebar.
Trevor worked the concrete pumper truck while Mark guided the output hose and Eric raked the concrete to the proper level.
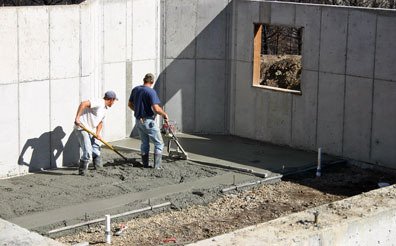
Eric smoothed the floor edges that abutted the foundation walls with a magnesium hand float and established what is called a "perimeter screed". Trevor, in the photo to your right, used a mechanized screed rail to bring the floor to the same level of the perimeter screed. Mark removed or added wet concrete behind Trevor's screed rail as needed. Screed rails leave small ridges which are then smoothed over with a bull float. Both must be used quickly before the concrete sets. Bull floating brings the fine particles of sand and cement to the surface which gives a smooth, glass like finish to the floor.
Hector smoothes the floor with a bull float |
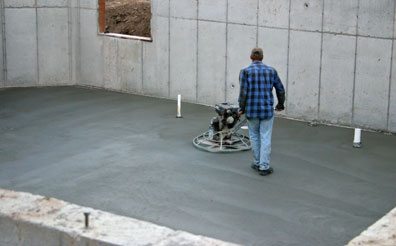
Trevor finishes the floor with a power trowel |
Click on the "ADD THIS" button to:
What do you think of this page? How can it be improved? Do you have questions about its content? Share your thoughts with Tim and other readers by clicking on "Leave a message". I read every message and will respond if you have a question.
|
|
| Current weather and the forecast for Tim's home in Emigrant, Montana in America |
|
Page 8 The Burial |
Tim's Life Main Table of Contents |

Branford Bike Fire Story Table of Contents |
Page 10 Basement in the clouds |
|
|